You’re ready to shoot. Your studio lights are set, your camera is in manual mode, and you’ve chosen your aperture—but your screen or electronic viewfinder is almost black.
Before changing your exposure settings, check exposure simulation.
This feature helps you preview exposure, but when you’re working with studio flash, it can make your subject difficult to see. Here’s why it happens and how to adjust it on several popular cameras.
Why Your Viewfinder Goes Dark With Studio Flash
Exposure simulation shows how bright or dark your image would look using your current settings and the light the camera sees.
For example, at ISO 100, 1/160 second, and f/8, the room’s existing light may produce a very dark image. Your studio flash adds light when you take the photo, but that burst isn’t present while you’re composing.
With exposure simulation turned off, the camera provides a more visible preview so you can frame your subject.
This changes your viewing experience—not your recorded exposure. Your camera settings and flash output still determine how the finished photograph looks.
How to Turn Off Exposure Preview by Camera Brand
Manufacturers use different names for this feature. These instructions cover specific models; menu locations can vary with camera model and firmware.
Fujifilm X-T4
Go to:
MENU/OK → Setup (wrench icon) → Screen Set-Up → Preview Exp./WB in Manual Mode → OFF
To restore exposure preview, choose PREVIEW EXP./WB.
You can also select PREVIEW WB to preview white balance without previewing exposure. This setting applies in manual exposure mode.
Fujifilm’s film simulations and Natural Live View are separate features. For a dark studio preview, start with the exposure/WB setting above.
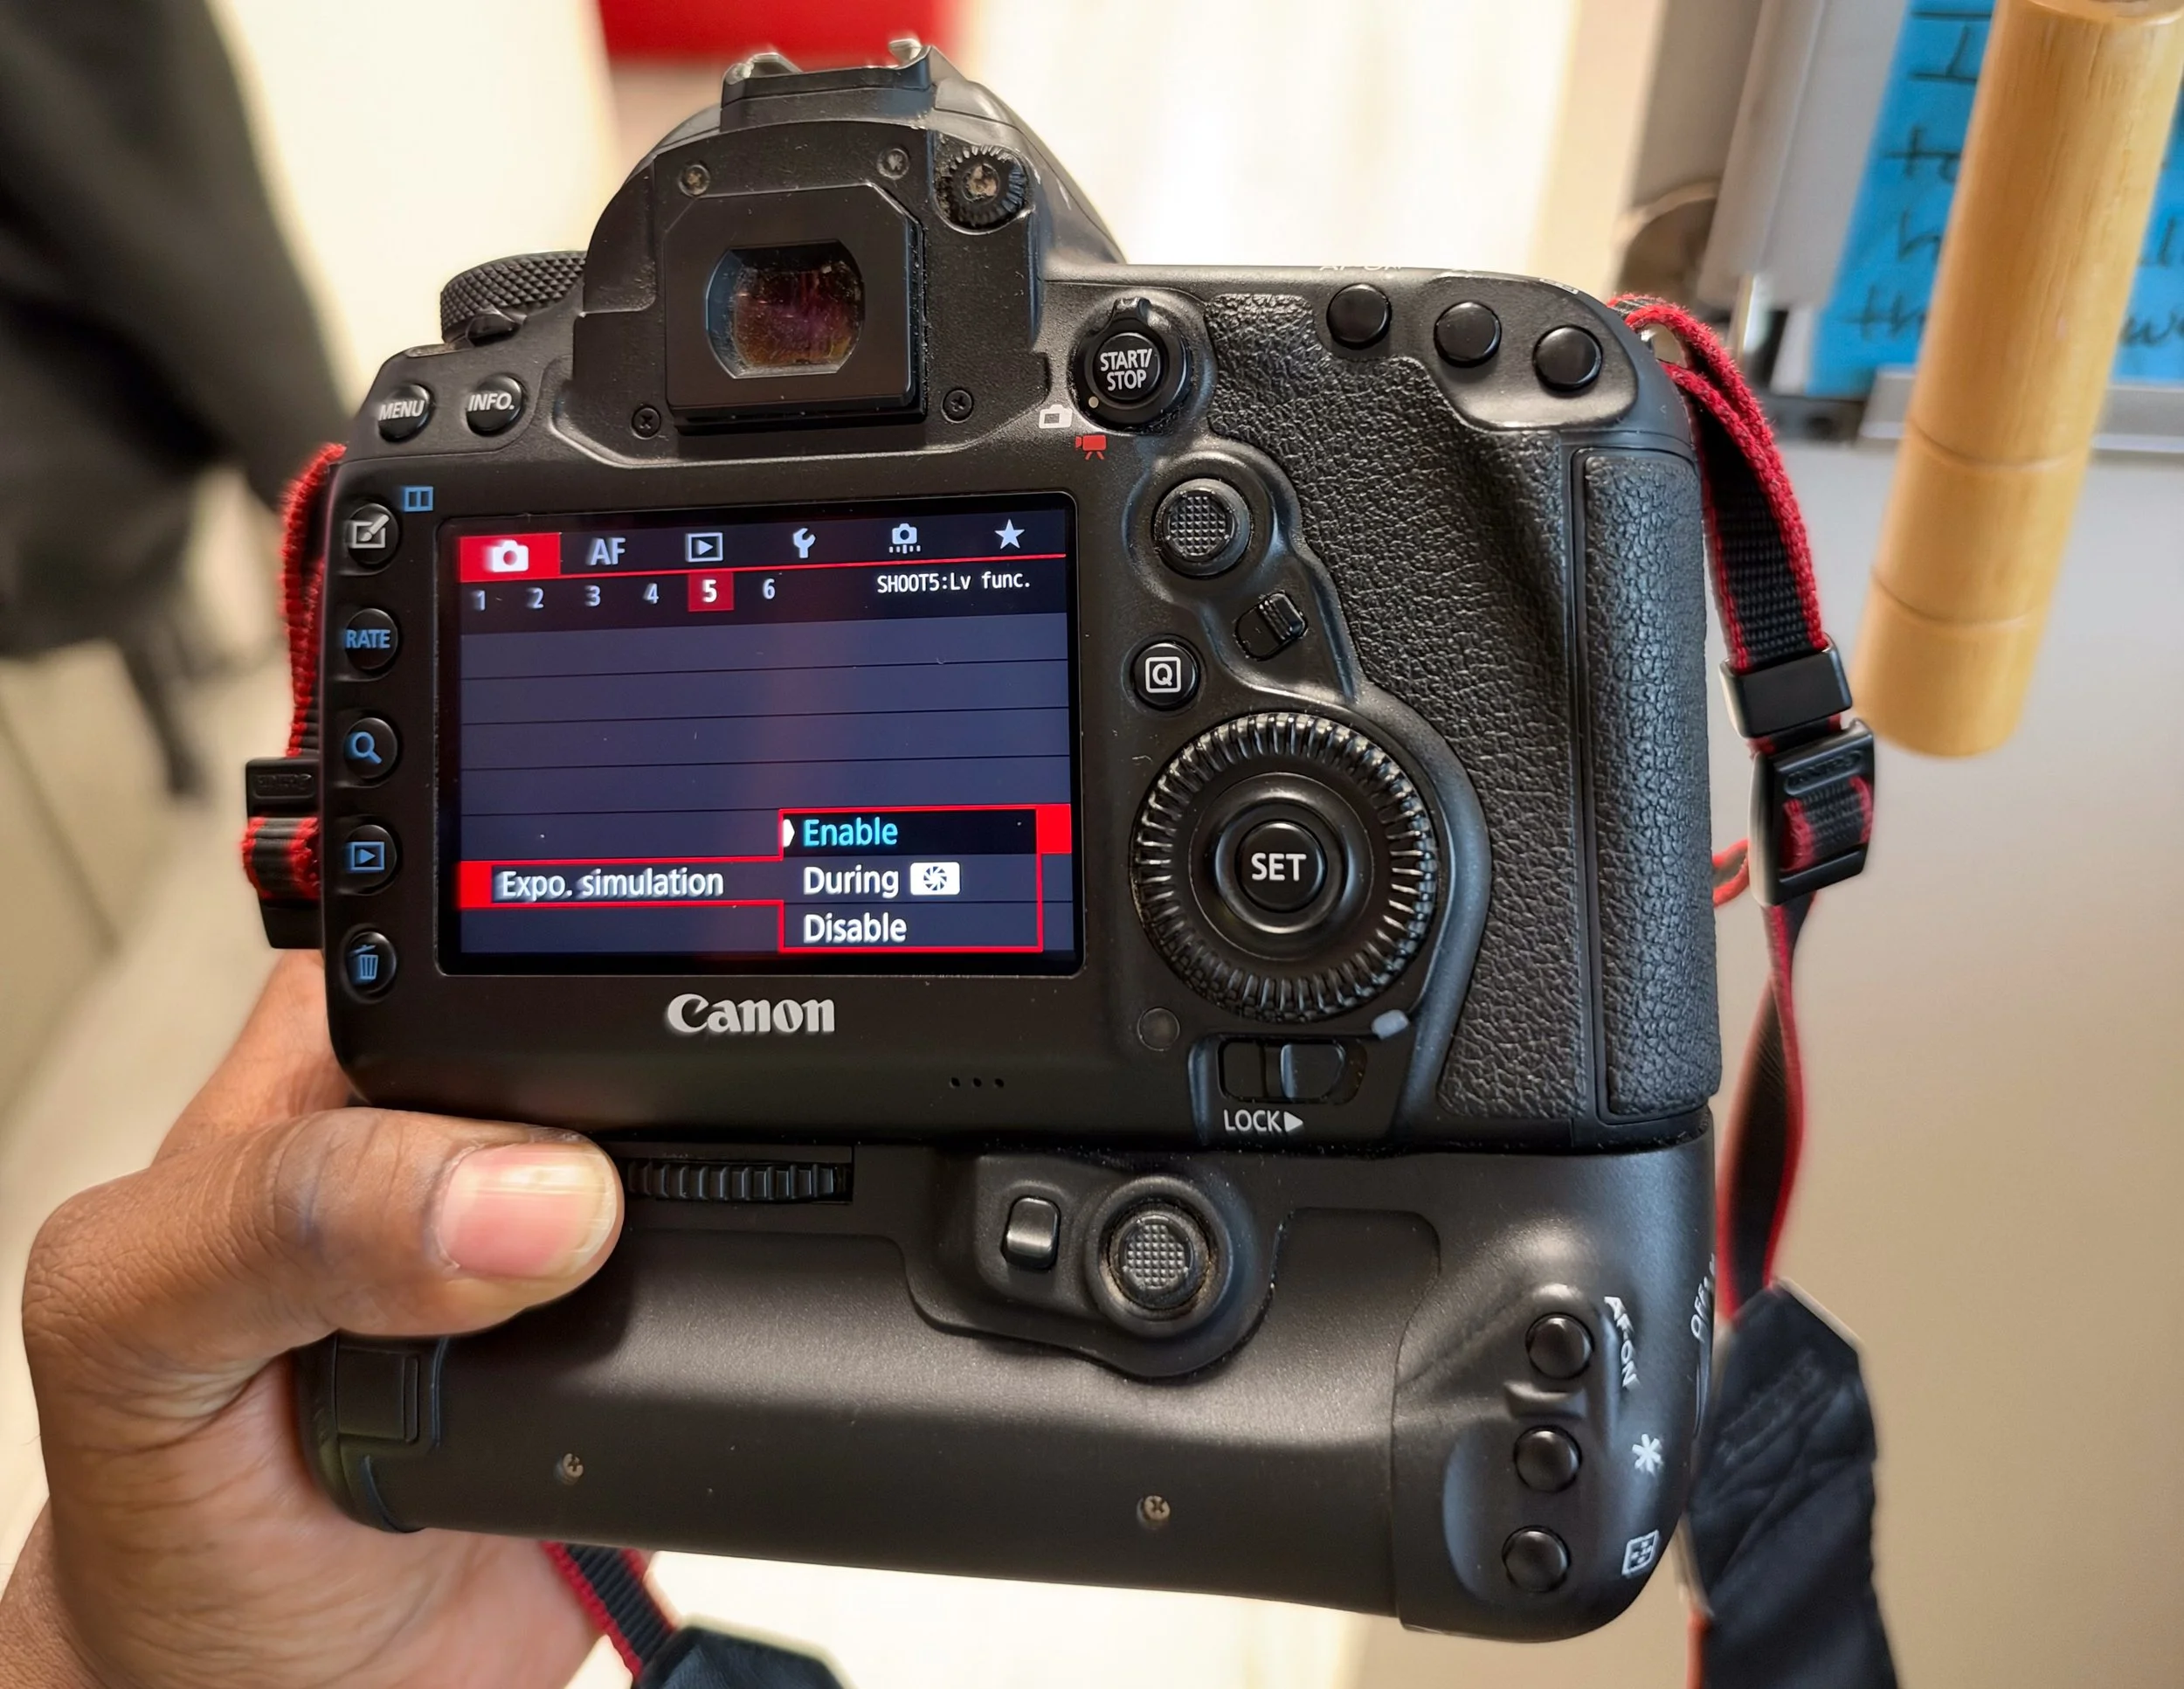
Canon EOS R6
Go to:
MENU → Shooting menu → Expo. simulation → Disable
To restore exposure preview, select Enable.
Canon EOS R6 Mark II
Go to:
MENU → Shooting menu → Display simulation → Disable
To restore exposure preview, select Exposure.
Canon’s preview behavior can also depend on the shooting mode and connected flash or trigger.
Sony a7 III
Go to:
MENU → Camera Settings2 → Live View Display → Setting Effect OFF
To restore exposure preview, select Setting Effect ON.
Sony a7CR
Go to:
MENU → Shooting → Shooting Display → Live View Display Set. → Live View Display → Setting Effect OFF
To restore exposure preview, select Setting Effect ON.
Sony cameras use different menu layouts across generations, so check your model’s manual if these options appear elsewhere.
Nikon Z6, Z7, and Z50
Go to:
MENU → Custom Settings (pencil icon) → d: Shooting/display → Apply settings to live view → Off
On the Z6 and Z7, this is d8. On the Z50, it is d7.
To restore exposure preview, select On.
Nikon Z6III and Z9
Go to:
MENU → Custom Settings → d: Shooting/display → View mode (photo Lv) → Adjust for ease of viewing
To restore exposure preview, select Show effects of settings.
Follow the setting name rather than relying on its menu number, which can vary by model or firmware.
Panasonic LUMIX S5II
Go to:
MENU → Custom → Monitor / Display (Photo) → Constant Preview → OFF
If the view is still difficult to see, look for Live View Boost in the same menu and choose MODE1 or MODE2. Check its SET options for your shooting mode.
To return to exposure preview, turn Live View Boost OFF and Constant Preview ON.
OM SYSTEM OM-1 Mark II
Go to:
MENU → Custom (gear icon) → 3. Live View → still-photo LV Mode → S-OVF
To restore exposure and color effects in the preview, select Standard.
Older Olympus cameras may use a setting called Live View Boost.
What About DSLR Cameras?
A DSLR’s optical viewfinder doesn’t electronically simulate exposure. Looking through it normally won’t require this adjustment, although holding the depth-of-field preview button can darken the view.
The rear screen’s Live View is separate and may have exposure-simulation controls. Check your exact model’s manual for those settings.
What If the Screen Is Still Dark?
First, confirm that the setting saved and that you’re in a supported still-photo shooting mode.
Then check the following:
Release any depth-of-field preview button.
Add modeling light or room light if the camera struggles to focus.
With a manual or adapted lens, check whether the aperture is physically stopped down.
Take a test photograph and review the recorded image and playback histogram.
A brighter preview helps you compose, but it doesn’t guarantee correct flash exposure or provide more actual light for autofocus.
Before Your Next Studio Shoot
Choose your ISO, aperture, and a shutter speed compatible with your camera’s flash sync. Disable exposure preview, turn on your flash and trigger, and take a test shot.
Judge your lighting from the captured photograph or a flash meter—not from the brightness of the live preview.
When you return to available-light or continuous-light photography, turn exposure preview back on if you want to use it to judge exposure.
At YISM Studios in Tampa, understanding your camera settings helps you spend more of your session creating. Keep this guide handy before your next studio shoot.